
Digital Smile Design: Transforming Porcelain Veneer Planning at Optima Dental

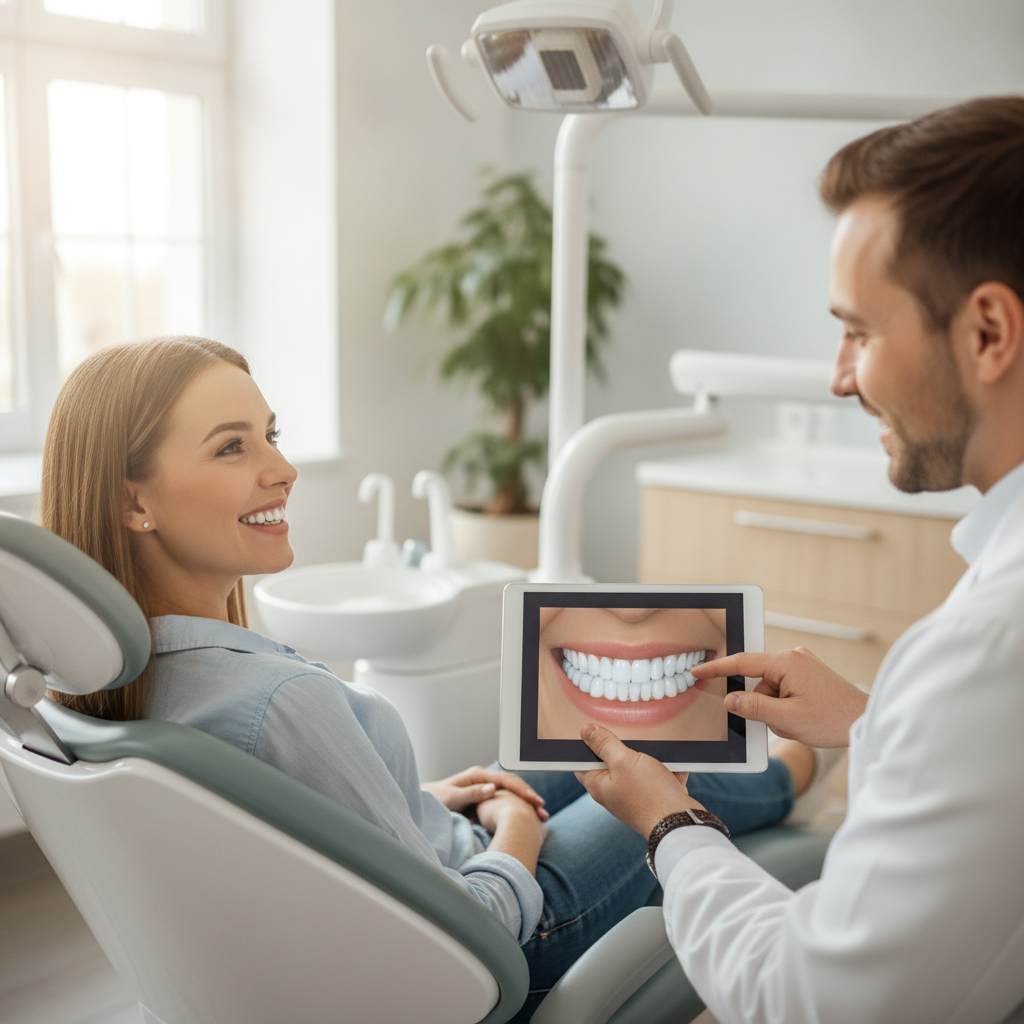
Quick Answer: Digital Smile Design lets Optima Dental in San Jose map out Porcelain veneers in a fully interactive 3‑D environment before any tooth is touched, giving patients a realistic preview, precise shade matching, and a treatment plan that aligns with both function and aesthetics.
How Digital Smile Design improves Porcelain Veneer Planning at Optima Dental
We start by capturing a high‑resolution Digital impression of your teeth. The iTero scanner builds a dense point cloud that our software turns into a model you can manipulate in three dimensions. From there we layer virtual veneers, tweak proportions, and test color until the Smile reads as natural and balanced. You can rotate the model, zoom in, and view it on a tablet while we talk through options.
Our workflow removes guesswork and replaces it with data‑driven confidence.
Technology that powers the workflow
Three pieces of hardware do the heavy lifting:
- iTero intra‑oral scanner: captures up to 200,000 points per second, producing a surface map accurate to within 20 microns.
- CBCT (cone‑beam computed tomography): reveals bone volume and root position, essential when veneers intersect with implant Planning.
- CAD/CAM milling unit: translates the virtual Design into a milled mock‑up or a final Porcelain block.
All three devices feed the same software platform and store files in a secure cloud. That means we can reopen your case weeks later if you decide you want the incisal edge a hair longer or the enamel a touch warmer.
Step‑by‑step Digital Smile Design workflow
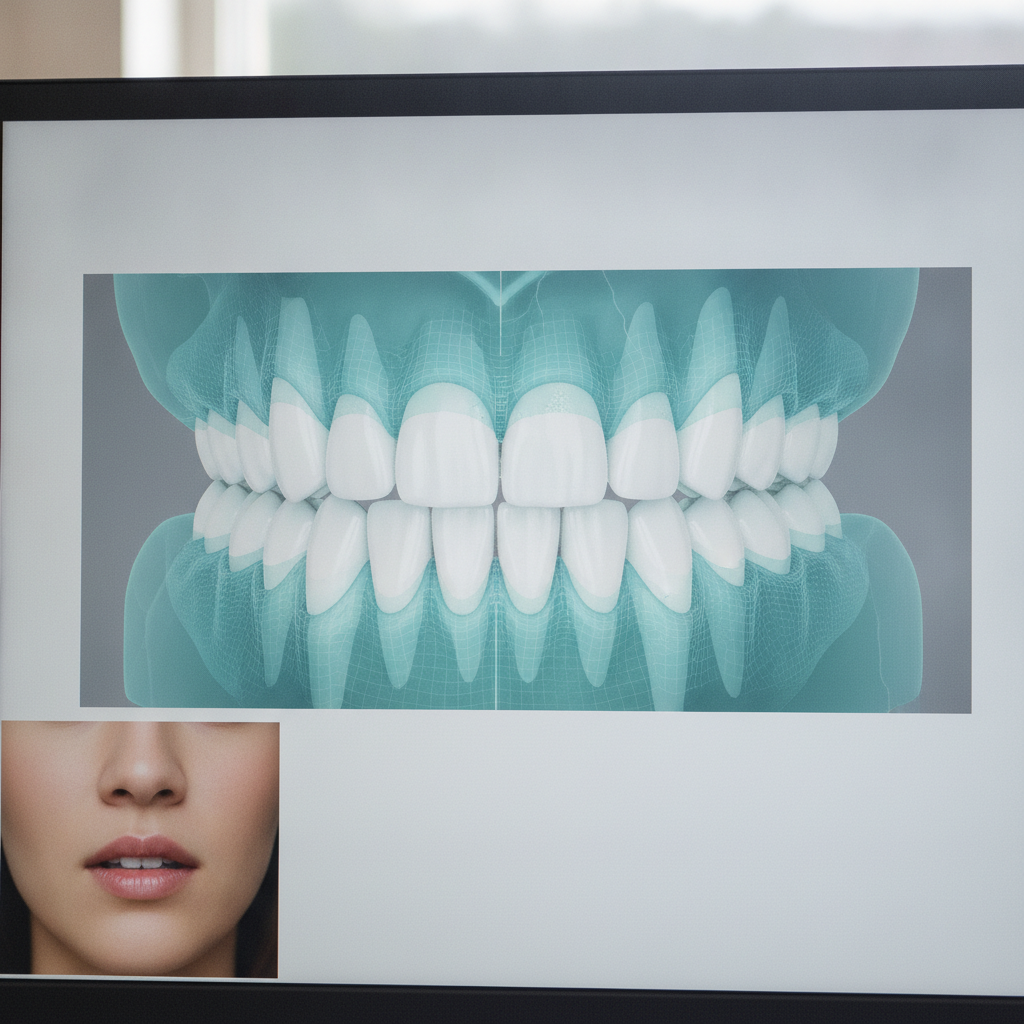
We keep the process linear so nothing slips through the cracks. Here’s the exact sequence we follow for every Veneer case.
- Initial video call or in‑office consultation: We clarify goals, budget, and timeline. Patients complete a short questionnaire that flags lifestyle factors — coffee, smoking — that influence shade decisions.
- Digital impression with iTero: The scan captures both arches in under two minutes and the software stitches them into a single STL file.
- CBCT scan (if needed): For cases with deep bites or complex restorations, we add a low‑dose CBCT. Volumetric data merges with the surface mesh so hidden discrepancies don’t surprise us later.
- Virtual wax‑up: Our cosmetic dentist sculpts ideal tooth shapes in the Smile Design module. We set measurable parameters such as incisal edge length (1.5–2.0 mm for anterior teeth) and gingival zenith placement (0.5 mm distal to the mid‑line).
- Shade mapping: The program analyzes enamel translucency and suggests a Vita Classical shade range. We fine‑tune hue based on the patient’s jewelry or hair color.
- 3‑D preview and patient approval: The finished model appears on a tablet. Patients rotate it, view daylight simulations, and request tweaks before we send files to the lab.
- Fabrication: After approval, the Design exports to our in‑house CAD/CAM mill, which carves veneers from high‑strength lithium disilicate. The milled pieces are tried in for fit before final bonding.
Following this roadmap helps ensure the final veneers closely match the patient’s vision down to the millimeter.
Benefits of a 3D Smile preview for patients
There are three concrete advantages to seeing a realistic rendering before we touch enamel. First, it removes the surprise factor that makes patients hesitate about irreversible work. Second, it gives us measurable targets for shade and thickness so the lab can stay within a ±0.2 mm tolerance. Third, the visual preview increases case acceptance—patients who can see the proposed result are far more comfortable moving ahead.
The preview also creates a real collaboration. A patient can tap the incisal edge on screen and say they want it a touch longer, and we adjust the model instantly. That back‑and‑forth would require a new physical wax‑up every time with traditional methods.
In short, a 3‑D preview turns Veneer Planning from a guess into a shared Design experience.
Traditional Veneer Planning vs Digital workflow – a side‑by‑side comparison
| Aspect | Traditional Wax‑up | Digital Smile Design |
|---|---|---|
| Time to first visual | 1–2 weeks (lab turnaround) | Minutes on‑site |
| Accuracy of fit | ±0.5 mm (hand‑crafted) | ±0.2 mm (CAD/CAM) |
| Shade matching | Visual assessment only | Digital spectrophotometer integration |
| Patient involvement | Limited to static models | Interactive 3‑D manipulation |
| Risk of over‑preparation | Higher (no visual guide) | Lower (Design guides depth) |
The Digital route consistently outperforms the manual method on speed, precision, and patient satisfaction.
Common mistakes and how we avoid them
Advanced tools help, but errors still happen when teams skip protocols. Here are the pitfalls we see and the safeguards we use.
- Skipping the CBCT when occlusion is complex: We run a low‑dose scan for patients with a deep bite or prior restorations. That prevents over‑contouring veneers that would clash with posterior occlusion.
- Relying on a single shade swatch: Our software records multiple spectrophotometer readings across the arch and averages them. That avoids mismatches from localized staining.
- Ignoring gingival health: We review periodontal charts before any Design work. If the gum line is uneven, we coordinate soft‑tissue crown lengthening before Veneer placement.
- Assuming the patient will accept the first mock‑up: The 3‑D preview invites iterative feedback. We budget at least two revision cycles for every case.
By building these checks into the workflow, we keep revisions to a minimum and protect tooth structure.
Frequently Asked Questions
What is the difference between a Digital Smile Design and a traditional wax‑up?
A Digital Smile Design is created on a computer using intra‑oral scans, while a wax‑up is sculpted by hand on a stone model. The Digital method offers instant changes, precise measurements, and a realistic 3‑D preview that patients can interact with.
Do I need a CBCT scan for every Veneer case?
Not every case requires a CBCT, but we recommend it when the bite is deep, when implants are involved, or when there is a history of extensive restorations. The low‑dose scan adds less than 0.05 mSv of radiation—comparable to a single panoramic image.
How long does the entire Digital workflow take?
From the first scan to the final cementation, most patients finish in 2–3 weeks. The initial Digital impression and preview happen in a single visit, and the milled veneers are ready in 5–7 days.
Will my insurance cover Digital Smile Design?
Many Dental plans categorize veneers as cosmetic and exclude them. The diagnostic portion, such as scanning or a CBCT, May be reimbursable when documented as medically necessary. Our staff will help verify your coverage.
Can I see a live demo before committing?
Absolutely. We offer a free Digital Smile Design consultation where you’ll watch the software build your new Smile in real time. Schedule a Consultation today and see the preview for yourself.
Illustrative clinical scenarios
The scenarios below are illustrative composites used to explain how treatment works; they do not describe specific patients.
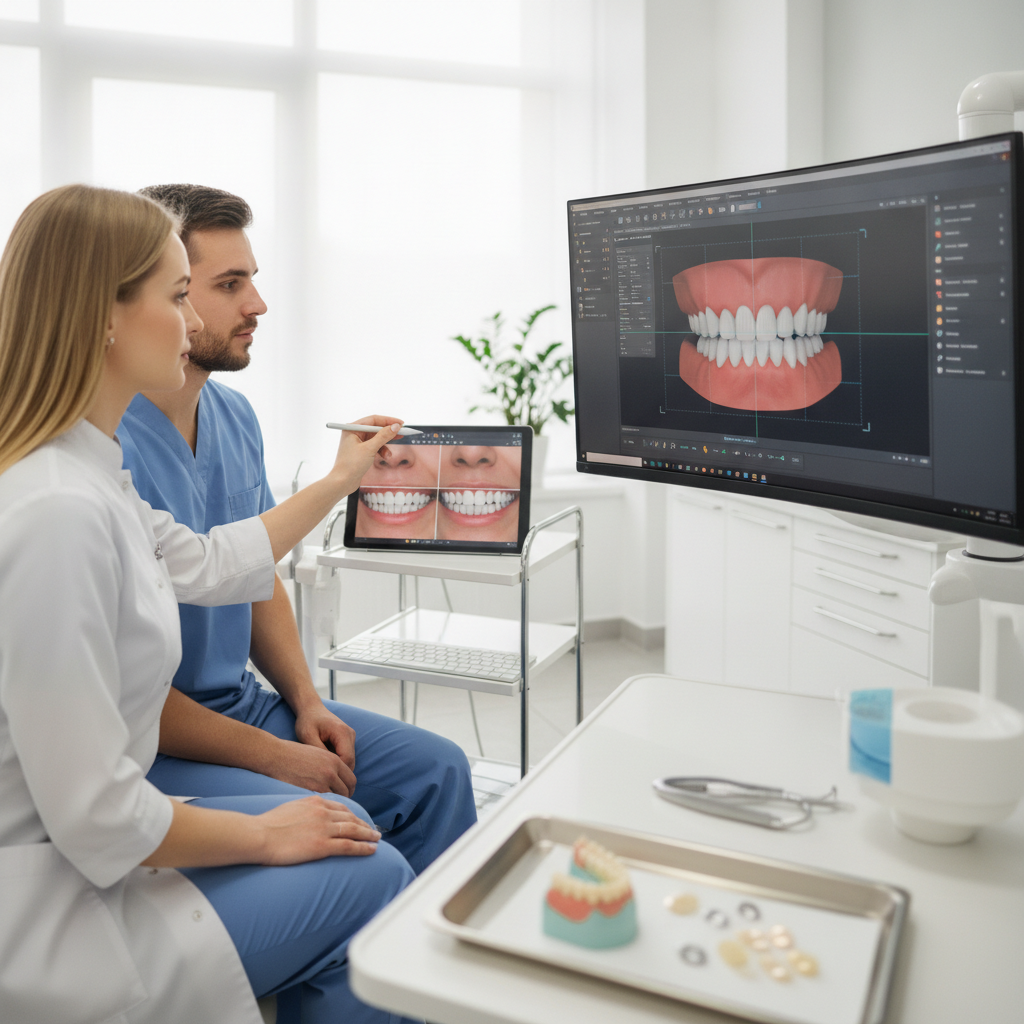
Here are three anonymized case studies that show how Digital Smile Design shapes Planning and outcomes.
Case 1 – Discolored central incisors, conservative veneers
Patient: Female, age 34, intrinsic staining after root canal therapy on tooth #9.
Workflow: Initial iTero scan, single low‑dose CBCT to confirm root filling position, Digital wax‑up increasing incisal length by 1.8 mm for symmetry, spectrophotometer readings averaged across three zones.
Material: Lithium disilicate veneers milled to 0.5–0.7 mm thickness.
Outcome: Shade shifted from Vita A3 to B1, patient reported an immediate confidence boost and rated the result 5/5 on our satisfaction survey. At 12 months there was no debonding or marginal staining.
Case 2 – Asymmetric gingival zeniths requiring tissue management
Patient: Male, age 47, uneven gum levels on teeth 7–10 creating a fuller appearance on the right.
Workflow: Digital Design identified a 1.2 mm zenith correction on tooth #8. We coordinated soft‑tissue crown lengthening with a periodontist, waited 8 weeks for healing, then completed the Veneer Design and milling.
Material: Feldspathic‑layered Porcelain over lithium disilicate substructures.
Outcome: Post‑op Smile symmetry within ±0.3 mm of the planned zenith. At 6 months the patient was satisfied and periodontal indices were stable.
Case 3 – Worn dentition and bite rehabilitation
Patient: Female, age 56, history of bruxism and generalized incisal wear.
Workflow: CBCT evaluated condylar position and joint space; vertical dimension increased by 2.0 mm in the virtual Design. We placed eight veneers on the upper arch and provided a custom nightguard after treatment.
Material: High‑strength lithium disilicate for anterior load resistance.
Outcome: Patient reported better chewing comfort and less sensitivity. At 18 months veneers showed minimal wear and the nightguard prevented further attrition; the patient reported wearing the nightguard consistently.
These cases show how the Digital workflow lets us anticipate challenges, coordinate multidisciplinary care, and deliver predictable esthetic results.
Evidence and statistics supporting Digital workflows
Literature and our internal data back up the accuracy, speed, and patient acceptance of Digital Smile Design and CAD/CAM workflows. Highlights include:
- Case acceptance: Optima Dental saw a 27% increase in signed treatment plans after adding interactive 3‑D previews; other practices report similar gains.
- Accuracy: CAD/CAM restorations typically achieve marginal fits within ±0.2 mm, reducing chairside adjustments versus hand‑made prostheses.
- Longevity: Peer‑reviewed studies report 5‑ to 10‑year survival rates for Porcelain veneers between about 85% and 95%, depending on material, prep Design, and patient factors like bruxism.
- Adoption: Surveys indicate most metropolitan cosmetic practices adopted intra‑oral scanning or Digital Planning by the mid‑2020s, driven by faster turnaround and clearer lab communication.
While figures vary by study, the trend is consistent: Digital Planning reduces remakes, shortens treatment time, and raises patient satisfaction when teams follow standard protocols.
Materials, longevity, and maintenance
Choosing the right material balances aesthetics and durability. Common options include:
- Lithium disilicate (e.g., IPS e.max): Strong (350–400 MPa) and translucent, ideal for thin veneers and conservative preps.
- Feldspathic Porcelain: Excellent layering for ultra‑natural esthetics but lower strength; often used as a veneering Porcelain over a stronger substructure.
- Zirconia: Very high strength but less translucent; used when fracture resistance is the primary concern, sometimes with a layered Porcelain surface.
Maintenance tips we give every Veneer patient:
- Wear a custom nightguard if you clench or grind.
- Avoid biting very hard objects like bottle caps, pens, or ice.
- Use non‑abrasive toothpaste to preserve glaze; get professional polishing if needed.
- Keep routine hygiene visits every 6 months for evaluation and prophylaxis.
With the right case selection and care, veneers can function for many years; our recall data shows the majority remain intact and esthetically pleasing at 7–10 years.
Cost considerations and financing
Porcelain veneers are an investment. In the San Jose area a single Veneer typically ranges from $1,200 to $2,500 per tooth depending on material and complexity. Cost drivers include:
- Number of veneers (single unit vs full‑Smile Design).
- Adjunctive procedures (periodontal surgery, root canal, CBCT).
- Material choice (lithium disilicate vs layered Porcelain vs zirconia).
- In‑house CAD/CAM milling versus outsourced lab work.
Optima Dental provides financing and works with third‑party lenders to spread payments. We also give transparent cost breakdowns during consultation to avoid surprises.
Choosing the right provider – what to look for
Not every practice that uses Digital tools achieves consistent results. When you compare providers, look for:
- Clinical experience with Digital Smile Design and a portfolio of before/after cases.
- In‑office scanning and milling or strong partnerships with a reliable lab.
- Clear communication and a documented revision policy for mock‑ups and final restorations.
- Integration with specialists (periodontics, endodontics, prosthodontics) when needed.
At Optima Dental we combine technology with restorative artistry and evidence‑based protocols to produce consistent outcomes.
Expanded Frequently Asked Questions
How long do Porcelain veneers last?
Longevity depends on material and habits. On average Porcelain veneers last 10–15 years with good care; many last longer. Regular checkups, avoiding parafunctional habits, and wearing a nightguard when indicated extend lifespan.
Will getting veneers hurt?
Most patients report minimal discomfort. We use local anesthesia during preparation. Post‑op sensitivity May last a few days and is usually managed with over‑the‑counter pain relief and desensitizing toothpaste.
Can a Veneer be repaired if it chips?
Small chips can sometimes be repaired with composite. Larger fractures usually require replacement. Our Digital records and the original Design file make it straightforward to remake a matching Veneer.
Are veneers reversible?
Traditional veneers require some enamel reduction and are generally not reversible. With Digital Planning we aim to preserve enamel and discuss conservative alternatives before proceeding.
Can I whiten my teeth before veneers?
Yes. If you plan to whiten, do it before shade selection and final fabrication. Whitening can shift natural teeth several Vita shades and should be stabilized before the final color match.
Are teenagers good candidates for veneers?
We usually avoid veneers in teenagers unless there is a strong clinical reason because their teeth and gums are still developing. Bonding or orthodontics are often better short‑term choices until growth finishes.
How do you ensure the final shade matches under different lighting?
We use Digital spectrophotometers, daylight simulation in the software, and standardized shade tabs under controlled lighting. Multiple checks—Design, try‑in, and final cementation—help ensure a reliable match.
Ready to see your future Smile before any tooth is touched? Our team blends artistry and engineering to deliver Porcelain veneers that look and feel natural. Explore our Cosmetic Dentistry Services or Schedule a Consultation now.
Further reading
- Industry background on search engine optimization — authoritative reference reading.